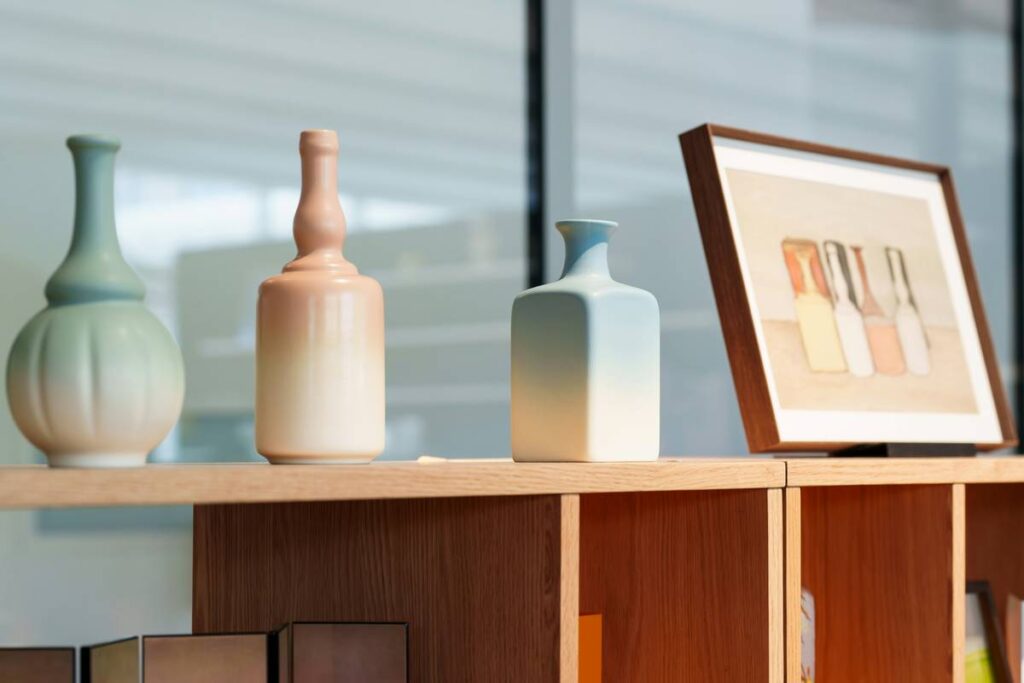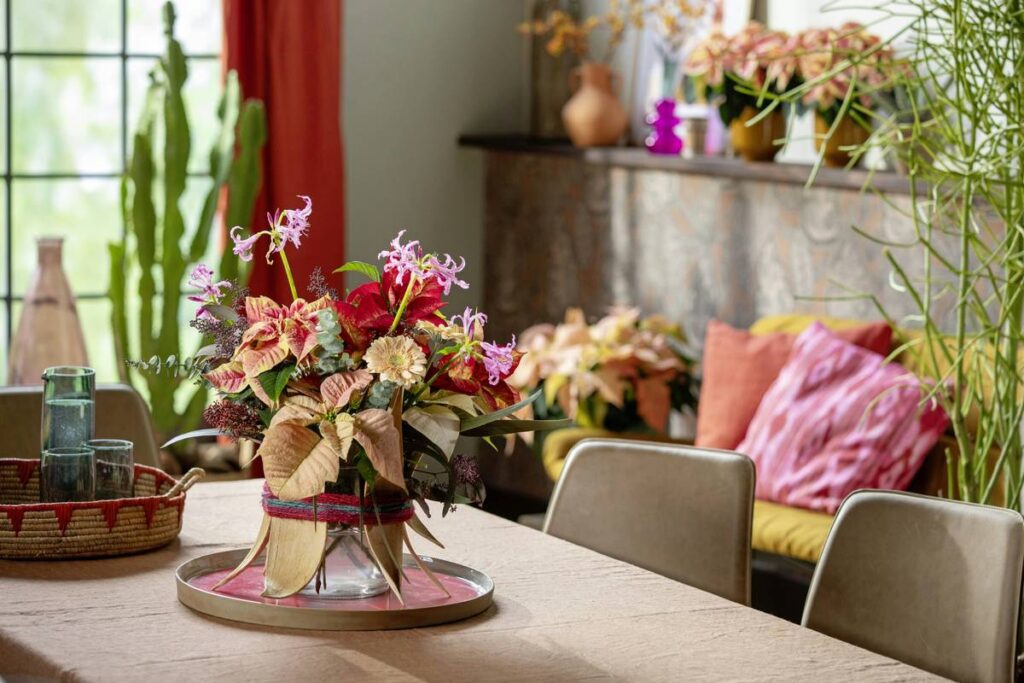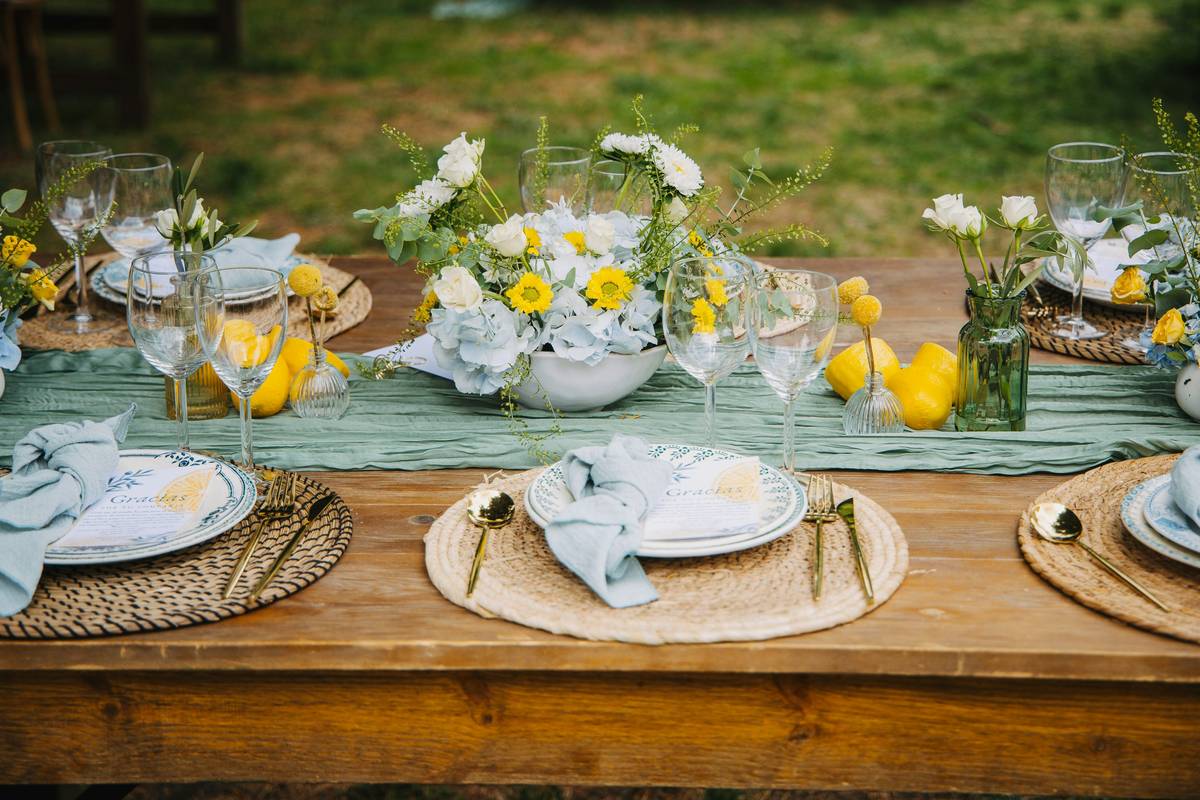
Your table feels empty. Guests notice. You scramble for something “festive” last-minute—only to settle for overpriced, generic decor that looks like everyone else’s. And it vanishes after one event. The solution? home made centerpieces crafted with intention, not impulse buys. They’re cheaper, personal, and unforgettable.
Why Most DIY Centerpieces Fail (And How to Avoid It)
People grab flowers, jam them in a vase, call it done. Then wonder why it looks amateurish. The issue isn’t effort—it’s strategy. Real centerpieces balance height, texture, color, and function. Too tall? Blocks conversation. Too busy? Feels chaotic. Too seasonal? Useless by next month. Successful ones anchor the room—not distract from it.
And they don’t require floral degrees or Pinterest-level staging. Just smart constraints.
Build Your Signature home made centerpieces in 4 Steps
Forget complicated tutorials. These four moves work for dinner parties, weddings, or Tuesday-night tacos.
Step 1: Define Your Vibe (Not Just Your Budget)
Rustic farmhouse? Coastal minimalist? Moody maximalist? Nail the mood first. A mismatched vibe kills cohesion faster than wilted blooms. Ask: “What feeling should guests have when they sit down?” Joy? Calm? Nostalgia? Start there.
Step 2: Choose Your Base—The Unsung Hero
The container matters more than the contents. Wooden trays, vintage tins, ceramic bowls—even stacked books wrapped in linen. Avoid clear glass unless you’re confident in stem placement. Opaque bases hide imperfections and add weight visually.
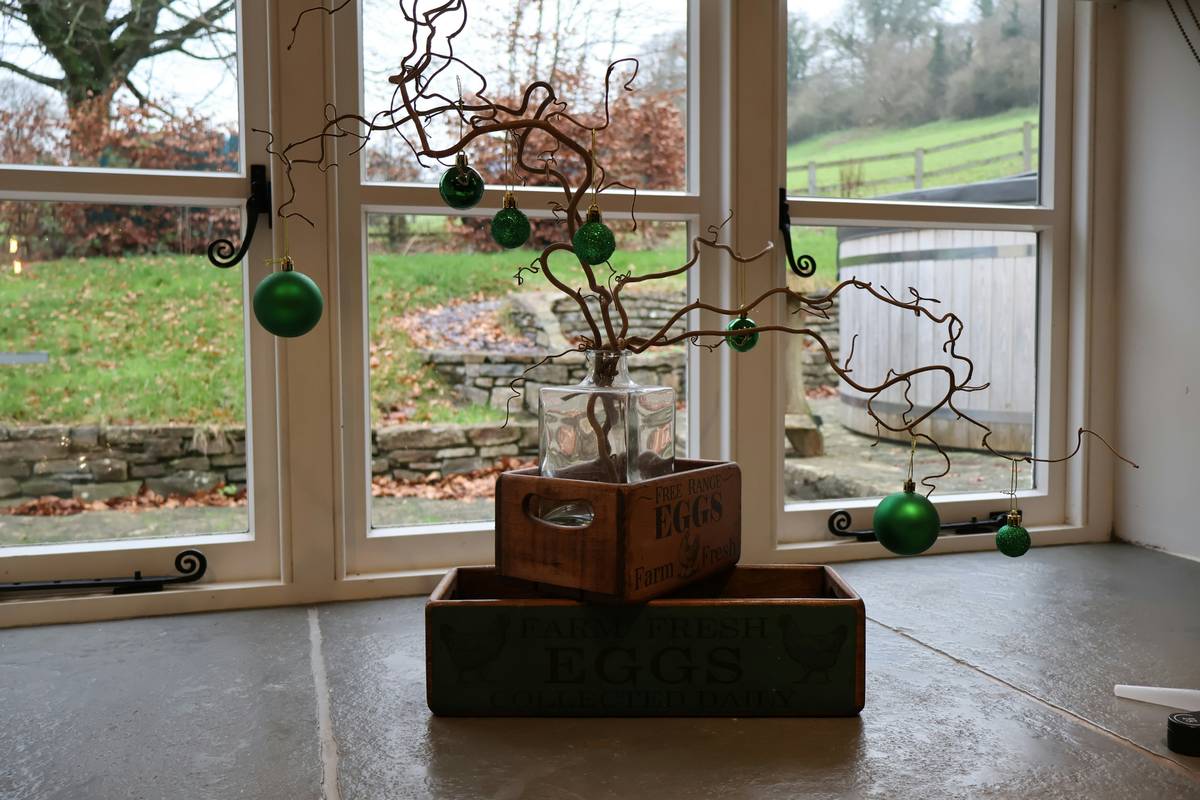
Step 3: Layer Elements Like a Pro
Rule of three: height + texture + scent (optional but powerful). Example: low moss + mid-height taper candles + tall dried wheat stalks. Mix organic (wood, stone) with refined (brass, linen). No symmetry needed—but rhythm is key.
Step 4: Build It Once, Rotate It Forever
Design a modular system. Keep your base year-round. Swap out seasonal accents: pinecones in winter, citrus slices in summer, fallen leaves in autumn. One investment. Twelve looks.
| Method | Avg. Cost | Time Required | Longevity |
|---|---|---|---|
| Fresh floral arrangement | $25–$60 | 30 mins | 3–7 days |
| Dried botanical base (e.g., pampas, lavender) | $15–$35 | 20 mins | 6+ months |
| Modular candle + object combo | $10–$25 | 10 mins | Years (with swaps) |
| Upcycled item centerpiece (e.g., vintage teacup, wine bottle) | $0–$12 | 15 mins | Indefinite |
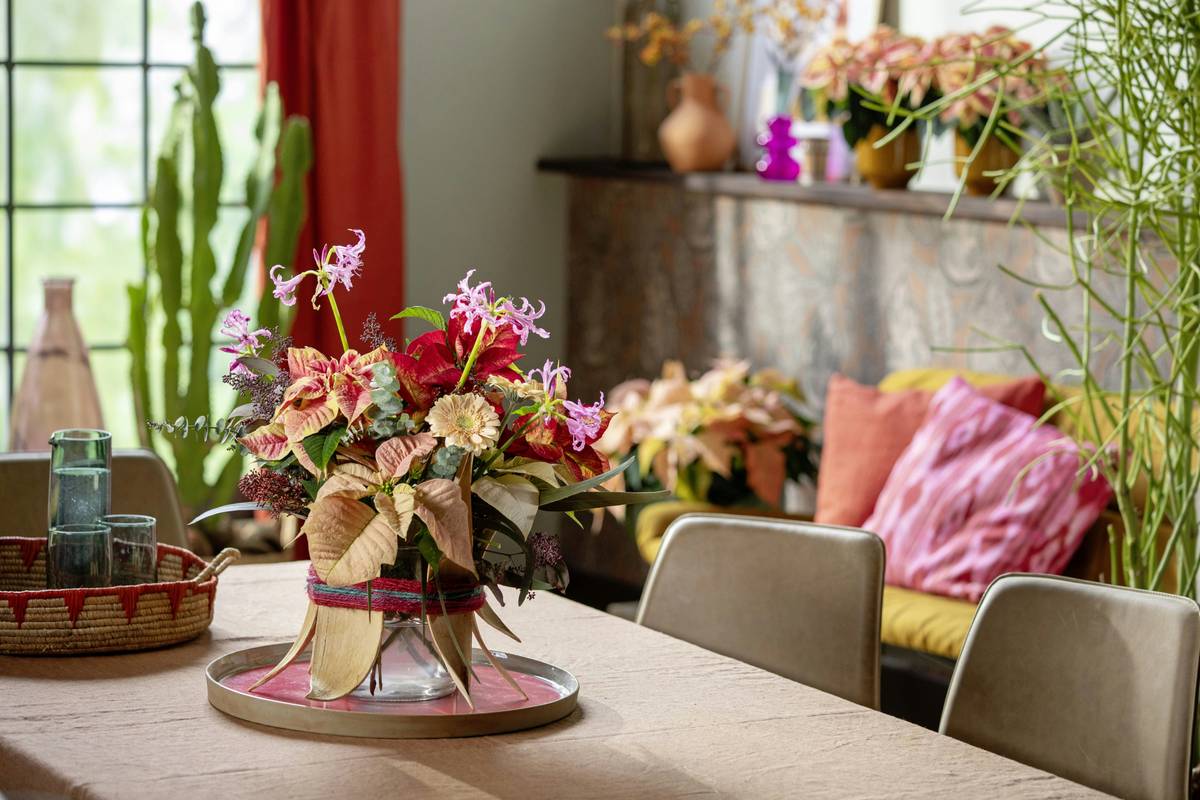
The Industry Secret: Less Is Literally More (Counterintuitive, But True)
Most home decorators overbuy. Pros underbuy—and amplify what’s there. Here’s the math: a single $8 tapered candle on a slate tile with two sprigs of rosemary reads as “luxury.” Ten mismatched tea lights in mismatched holders read as “clutter.” Visual quiet signals confidence. And guests remember restraint.
But don’t mistake minimalism for laziness. Every element must earn its place. If it doesn’t support mood, function, or storytelling—cut it. That antique spoon your grandma gave you? Maybe it belongs on a hook nearby—not shoved into the arrangement “for charm.”
Frequently Asked Questions
How do I make home made centerpieces last longer?
Use dried or preserved botanicals instead of fresh flowers. Store components in sealed bins away from humidity. Rotating seasonal accents keeps them feeling fresh without replacement.
What are budget-friendly materials for home made centerpieces?
Foraged branches, thrifted candlesticks, leftover fabric scraps, river stones, or even painted pinecones. Your kitchen and backyard hold 80% of what you need.
Can I use home made centerpieces for formal events?
Absolutely—if they reflect intentionality. A simple pillar candle on a mirrored tray with sprigs of olive branch reads more elevated than a chaotic floral explosion.